
office guide / office 2019
Manually change product key in Office 2019
In this tutorial we will show you how to change your Office 2019 product key using the command prompt. This is the only sure-to-work solution for changing product keys, as others usually fail. It is strongly based on the official Microsoft instructions, which we find counter-intuitive, so hopefully these instructions are clearer, especially for users inexperienced with the command prompt. This should be the first step when troubleshooting non-working product keys (when online and phone activation fail), because newer Office suites tend to install test keys alongside yours, and that is the reason for most failed activations.
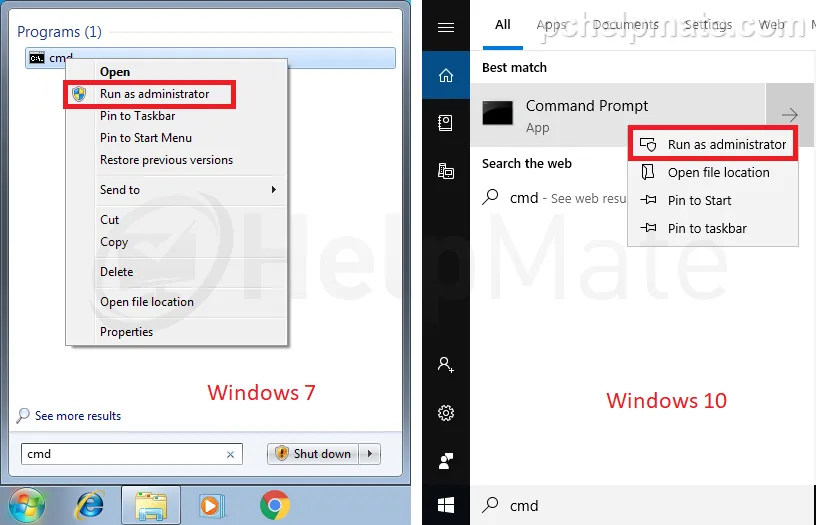
Go to Start, type CMD in the search bar, right click on the command prompt and choose “Run as administrator”.
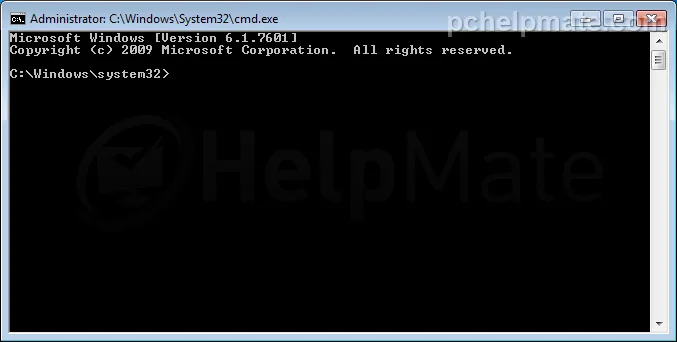
Now change the location where the command prompt executes commands to the folder where the Office activation files are. Run one of these commands depending on the version of your system and Office (if one fails, try the other, it must be one of these two).
64-bit operating system and 32-bit Office (most common):
cd C:\Program Files (x86)\Microsoft Office\Office1664-bit operating system and 64-bit Office, or 32-bit operating system and 32-bit Office:
cd C:\Program Files\Microsoft Office\Office16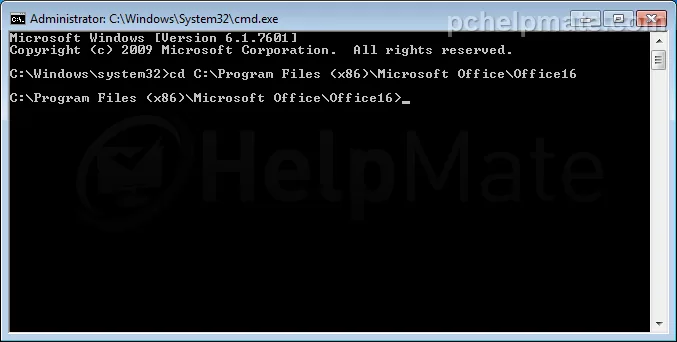
“cd” is the “change directory” command. After typing in a command hit Enter to execute it.
Now that you are in the right place you can execute commands regarding Office activation. The first one we will run shows the current status and installed product keys.
cscript ospp.vbs /dstatus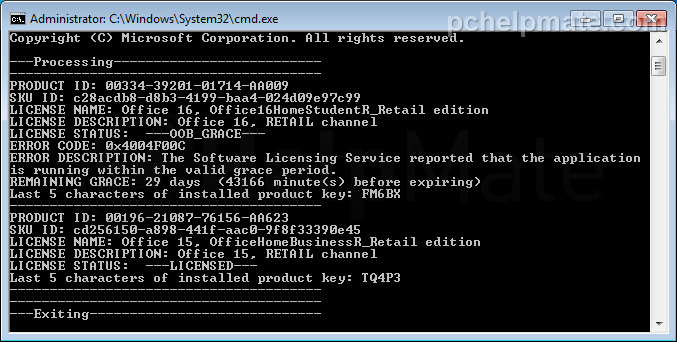
Now you can see all installed product keys. It is normal to see more than one product key installed at the same time, and in most cases that is the main culprit for failed activation.
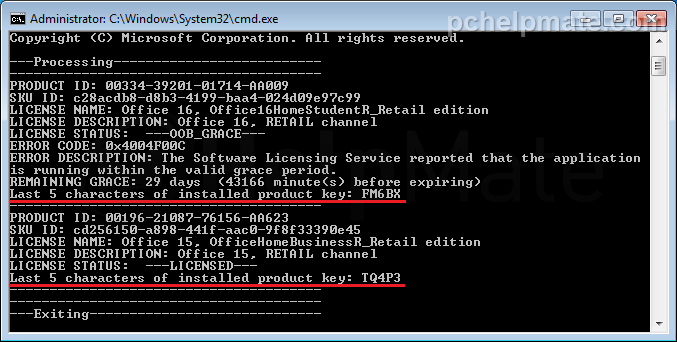
Each key is displayed in a separate block with a lot of information, but the only thing we need is the last 5 characters of the installed product key, which we will need in the next step.
Now uninstall all installed product keys using the following command (just change the X’s for the last 5 characters of the installed product key you obtained in the previous step).
cscript ospp.vbs /unpkey:XXXXX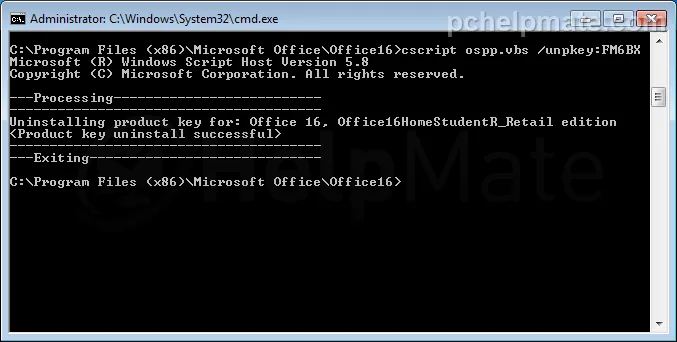
If you had more than one key installed, repeat this process to delete all of them. When you are done you can run the “dstatus” command again to make sure that there are no keys installed.
Now that you are sure no product keys are installed, you can install your own manually using the following command (replace the X’s with your product key).
cscript ospp.vbs /inpkey:XXXXX-XXXXX-XXXXX-XXXXX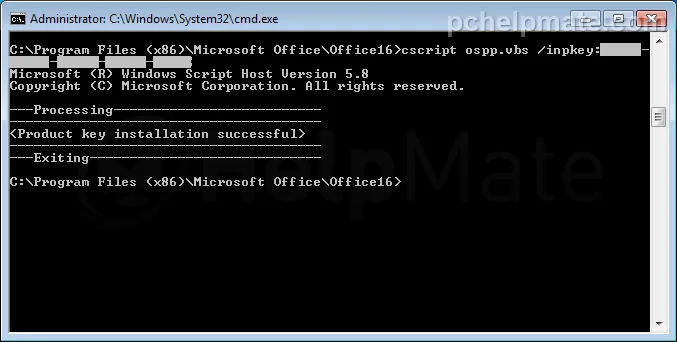
If the key is installed successfully you can now open any part of the Office suite and attempt activation again. If online and phone activation still fail, contact your key seller for software recovery options.