
system guide / windows 8.1
USB Creation (Windows 8.1)
To do this you will need:
- Windows 8.1 ISO file
- Rufus
- A USB flash drive that is at least 8GB and not bigger than 64GB
i noteIn this tutorial we will create a bootable USB for Windows 8.1, but all of the instructions apply for Windows 8.1 Pro.
Download the Windows 8.1 ISO file from the Microsoft website: Download ISO
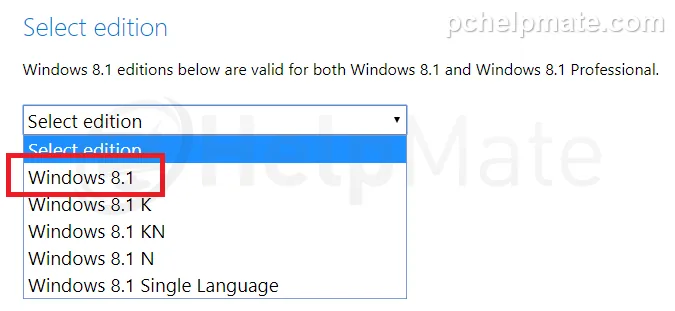
! warningMake sure to select just the Windows 8.1 option. You won’t be able to activate K, KN, N or single-language versions unless you have specific product keys for these versions.
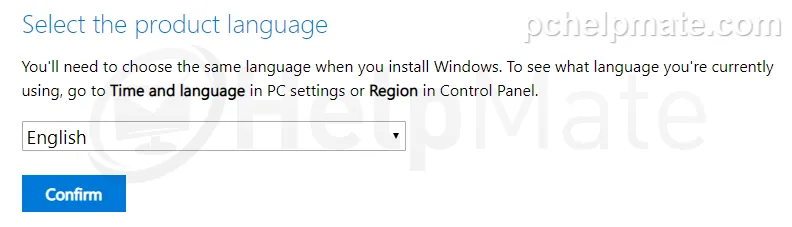
Select the language and click confirm:
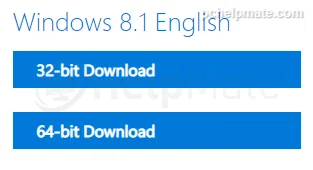
Download the architecture you desire (32 or 64-bit).
Insert your flash drive into the USB port.
! warningIf you have anything valuable on this USB flash drive, store this data on another device or computer. All files will be wiped during the process.
! warningIf you are using Windows older than 7 (XP or Vista) then you must use Rufus 2.18, as Rufus from version 3 up will not work on older operating systems.
On which operating system will you be creating the flash drive?
Download Rufus 2.18 from the project’s own archive and run it.
Below you see an example of the Rufus window with a USB flash drive inserted.
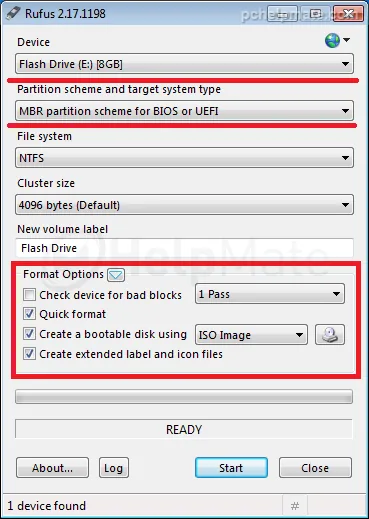
Under “Device” you need to select your flash drive. Partition scheme: for older computers (pre Win 8) select MBR partition for BIOS; for newer computers select GPT.
Format options: make sure that the boxes are ticked as in the picture and “ISO Image” is selected from the drop-down menu.
After you set up Rufus, click on the little disc icon in the Format Options section.
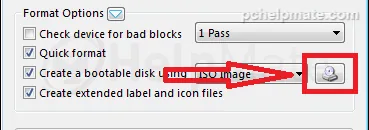
It will open up a window in which you need to navigate to the location of the downloaded ISO file (in this case the ISO file is located on the desktop).
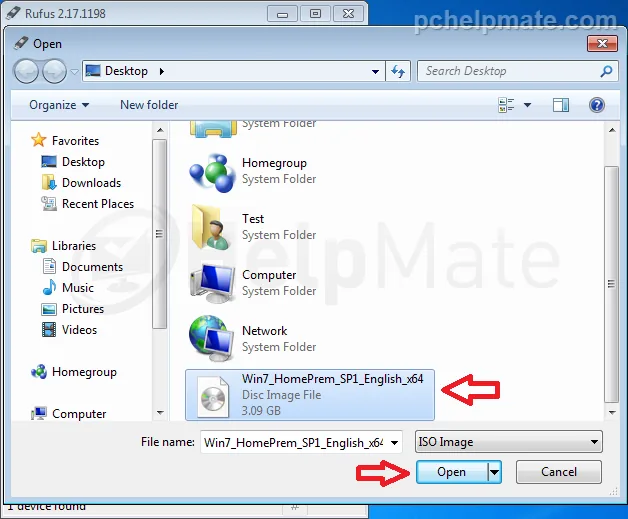
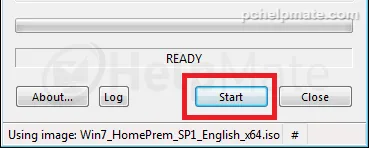
After clicking Open you will return to Rufus. Now press Start.
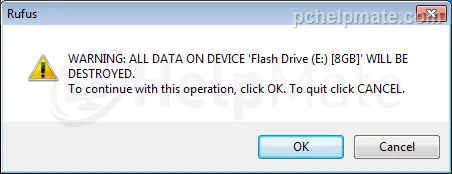
You will be warned about wiping all data. If you’re sure that nothing valuable is on this flash drive, press OK. Wait until the end of this process; you will know it is done when Rufus gets back to its previous state.
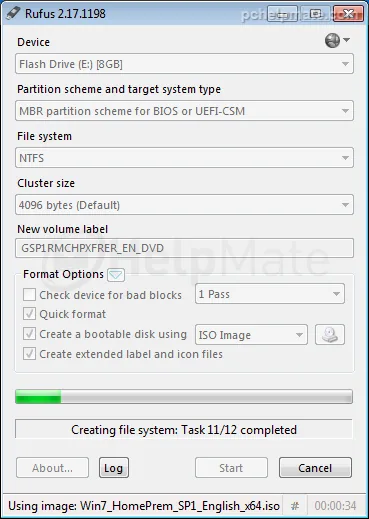
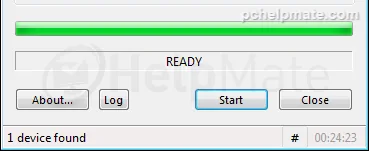
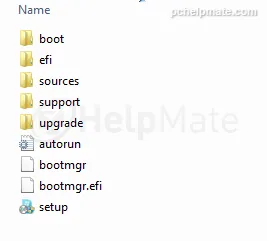
Now press Close. You have successfully created a bootable USB flash drive. This is how the contents of the flash drive should look.
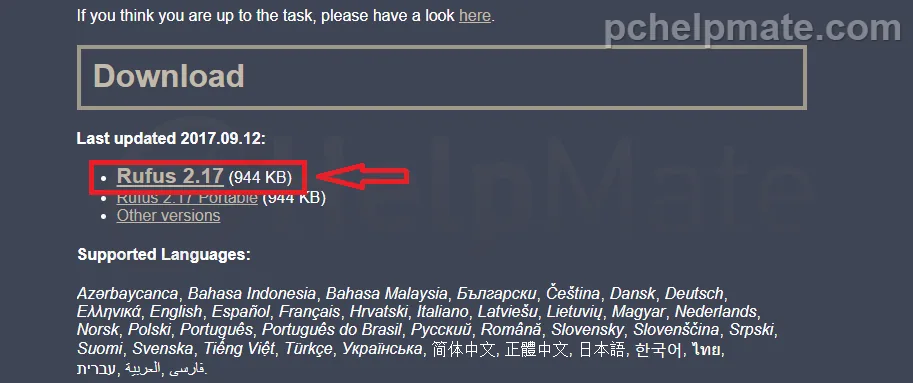
Download Rufus from the Rufus website.
This is how Rufus looks with a flash drive inserted. Click on the SELECT button.
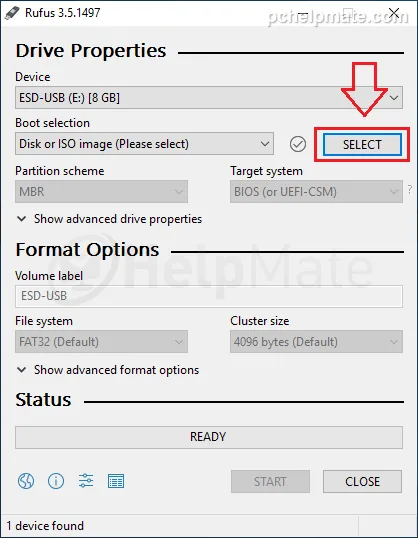
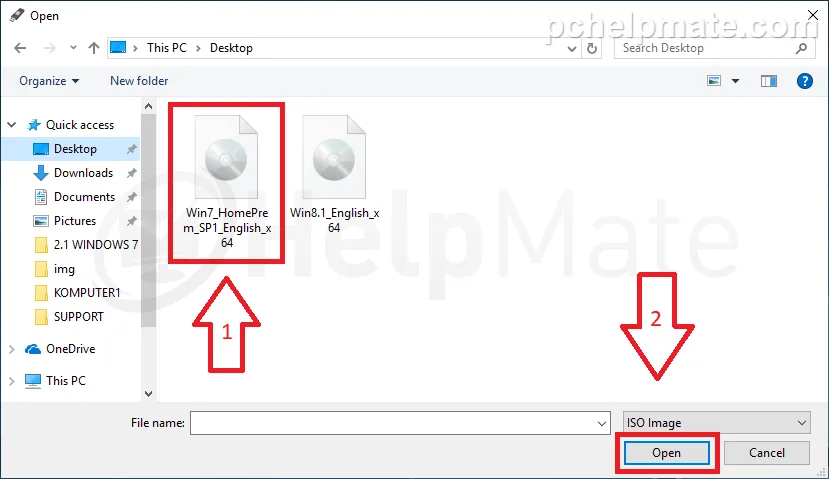
After you click on SELECT an image selection screen will open. Look for the ISO file within this window, highlight it and click Open.
Now you can set up the rest of the settings.
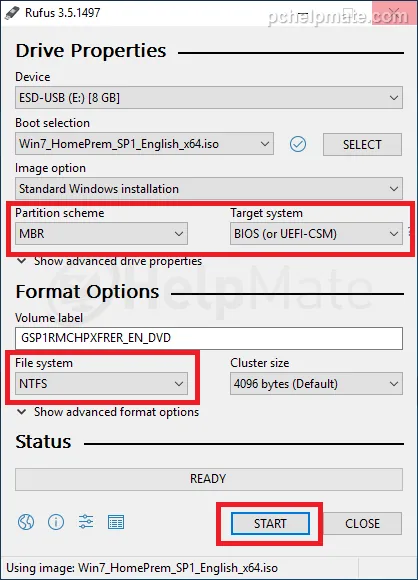
- For older computers use MBR for BIOS or UEFI; for newer computers use GPT for UEFI
- Set file system to NTFS
- After you’ve set up Rufus click on Start
! warningIf after creating the bootable flash drive your computer doesn’t want to boot from it, revisit the BIOS settings, and if they are OK, recreate the flash drive using another partition scheme.
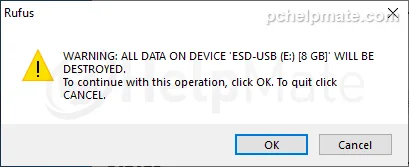
After you click Start you will receive this warning. If you are sure that nothing important is on the flash drive, click OK to proceed.
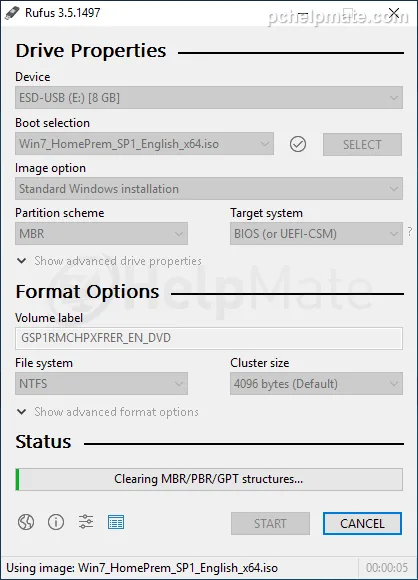
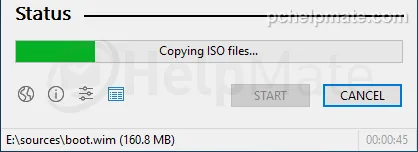
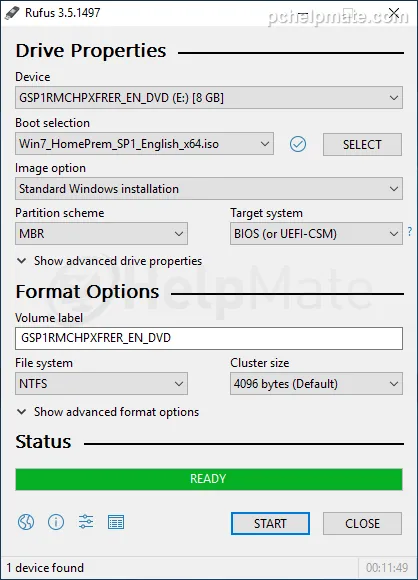
Now press Close. You have successfully created a bootable USB flash drive. This is how the contents of the flash drive should look.