
system guide / windows 7
Upgrade from Vista to Windows 7
You can do a direct upgrade to Windows 7 from Vista if you choose a correct edition for that (see Windows 7 upgrade paths for more info). In this tutorial we will show you how to perform this upgrade.
For the sake of this tutorial all files are stored on the desktop. We will be performing an upgrade from Windows Vista Home Premium 64-bit to Windows 7 Home Premium 64-bit.
! warningImportant note: please download at least your network drivers before you attempt this upgrade. You might not be able to connect to the internet after the upgrade and need to install network drivers manually.
To perform the upgrade you will need:
- Windows 7 ISO file
- 7-zip (7-zip.org)
- At least 16GB of free space on your hard drive
Download the ISO file and 7-zip on your computer. Install 7-zip. (You can use another computer to download those files and then transfer them to the one you want to upgrade.)
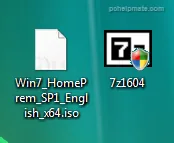
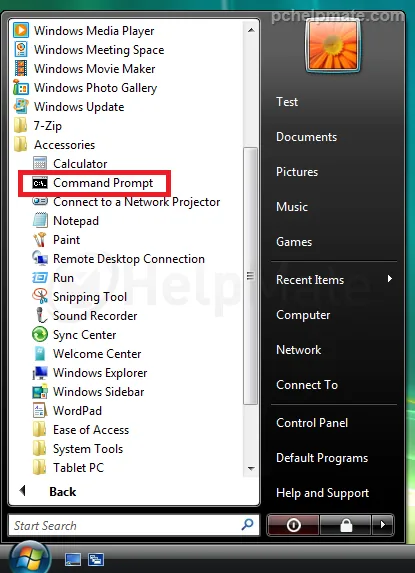
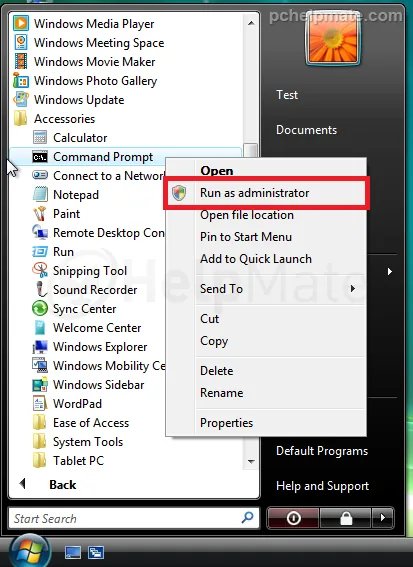
Open the command prompt as Administrator by going to Start > All Programs > Accessories > right click on Command Prompt and run as Administrator.
Type in the command “net stop wuauserv” and hit Enter. You will see information about the update services stopping successfully.
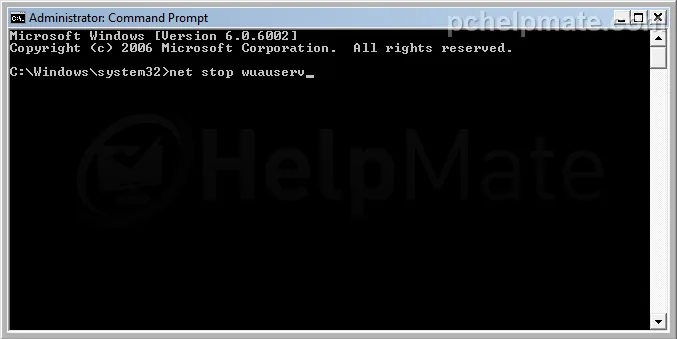
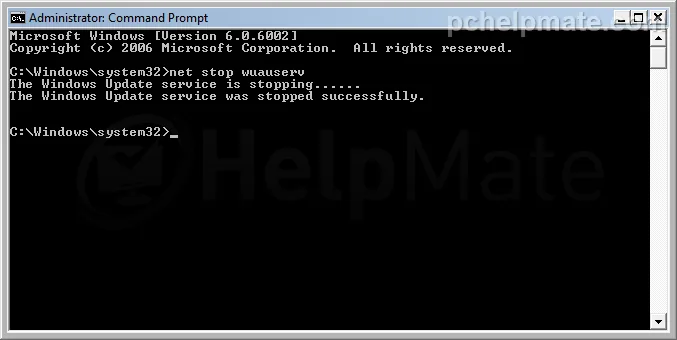
i noteIf you are unable to stop the update services, try continuing with the upgrade; however, it can get stuck on looking for updates online or at the initial steps of the upgrade.
Close the command prompt.
Right click on the previously downloaded ISO file > select 7-zip > select “Extract to "Win7…"”.
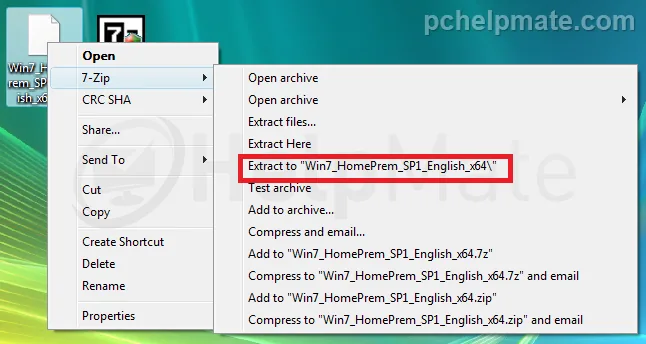
Wait for the extraction to complete.
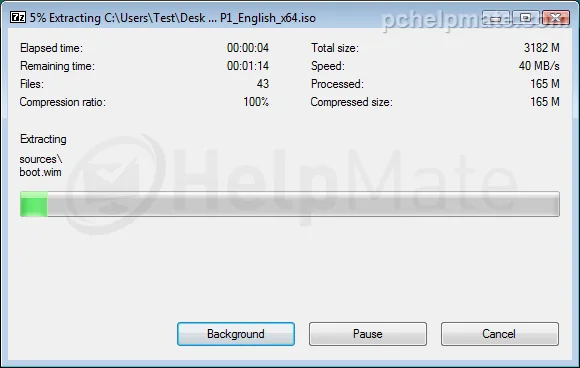
Now the contents of the ISO file are stored in a folder with the same name as the ISO file itself.
i noteThe folder will be in the same location as the ISO file; in the case of our tutorial it is located on the desktop.
! warningImportant note: before continuing please shut down any running programs and turn off or remove any anti-virus and firewall software, as they may interfere with the upgrade process and result in a fail.
Open this folder and double click on setup.exe.
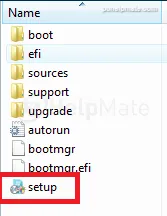
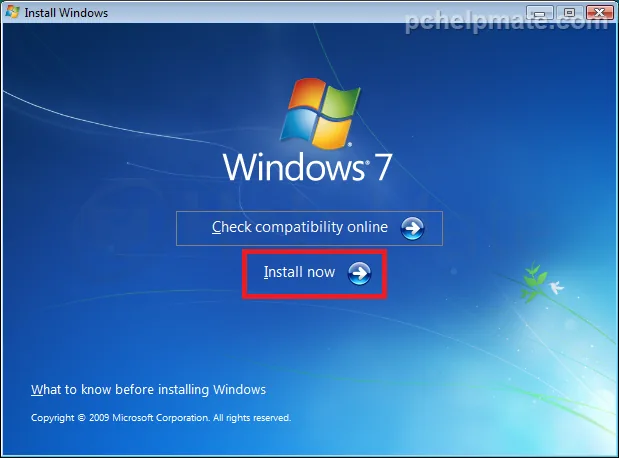
Click “Install now”.
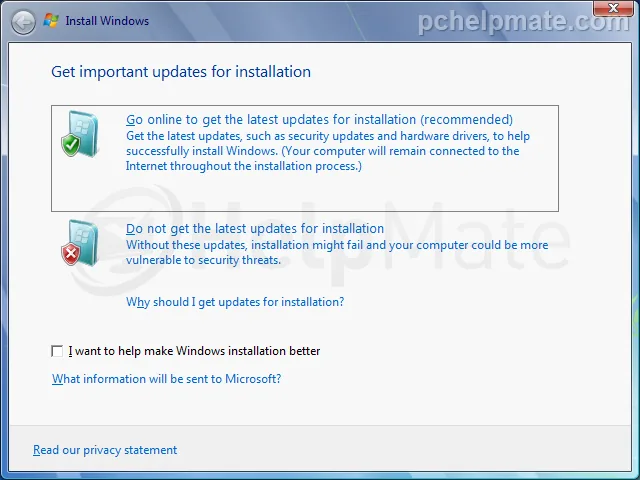
When prompted to look for updates online, select the option to get updates online. However, if the computer does not have access to the internet, or you could not stop the update services at step 3, select the option to not look for those updates.
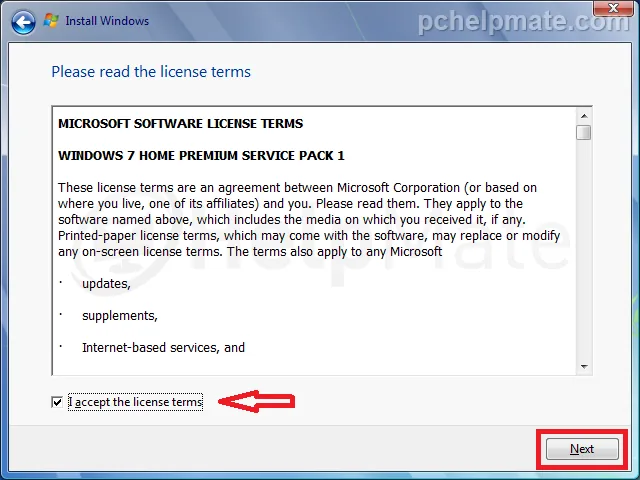
Accept the license terms and continue.
Select “Upgrade”.
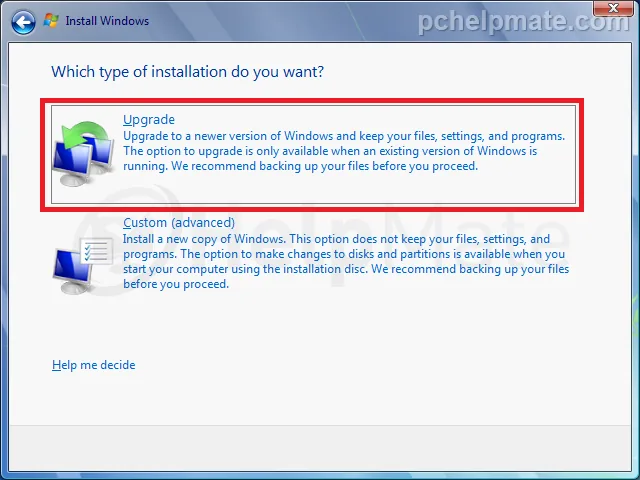
! warningImportant note: after clicking on “Upgrade” the installer will check compatibility. It might ask you to make changes to your software (most commonly to uninstall one or a few programs). Remove anything that the installer wants you to and reboot the computer.
After rebooting the computer make sure to stop the update services again (steps 2 and 3). Once the services are stopped you may continue from step 7.
Now you need to wait until the upgrade process finishes. It may take up to a few hours depending on how much data you have.
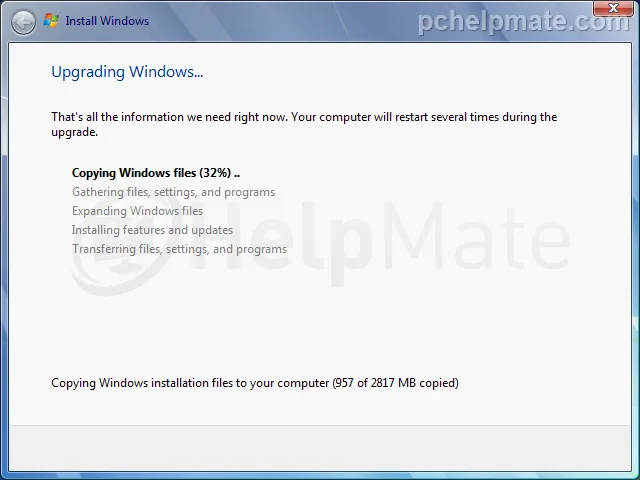
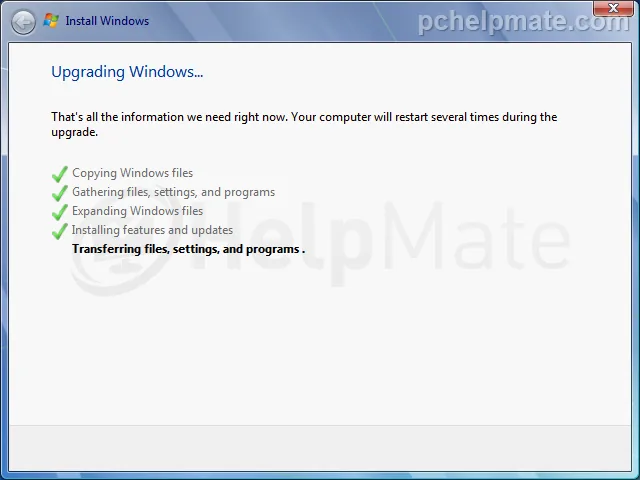
The computer will reboot at one point and start transferring all of your data.
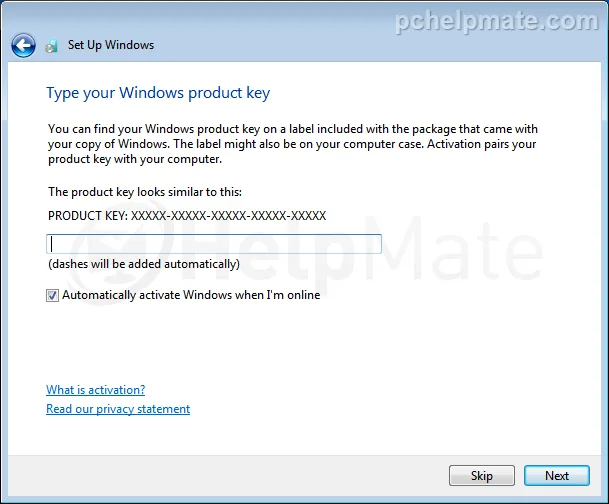
Now enter your product key and press “Next”. If you do not have your license right now and need to enter your email for it, you can skip for now.
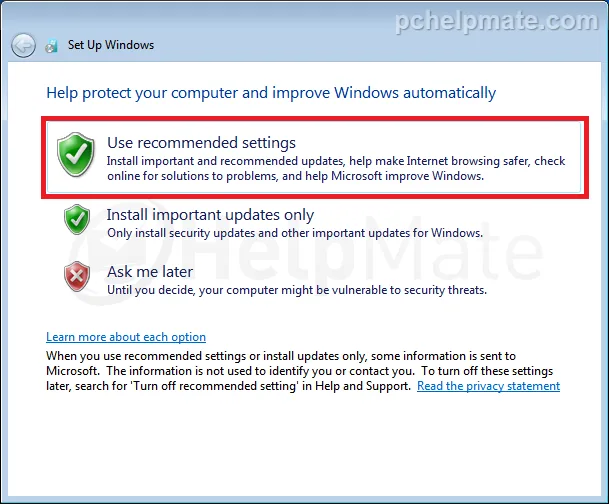
Use recommended settings.
Set your time and date.
When asked about the network, select accordingly.
Wait for the installation to complete.
And that’s it: you have successfully upgraded to Windows 7.