system guide / windows 7
DVD Burning
In this tutorial we will show you how to create a bootable DVD for installation. To do this you will need:
- Windows ISO file
- Free ISO Burner
- A blank DVD
i noteThese instructions also apply to other operating systems (e.g. Windows 8.1 or 10); the only difference is the ISO file.
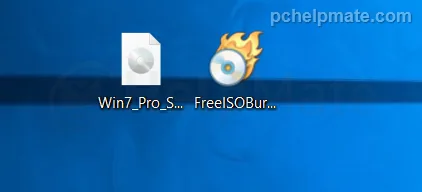
Once you acquire the ISO file, download Free ISO Burner from here.
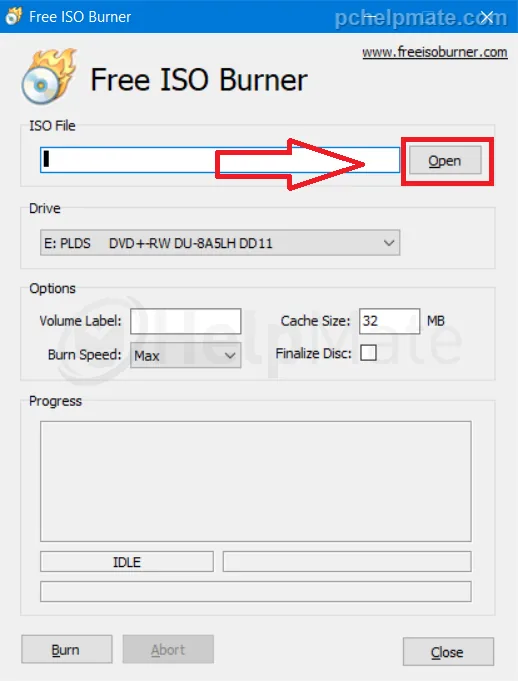
After the download is complete, open Free ISO Burner. In the main window you need to click “Open” in the upper section.
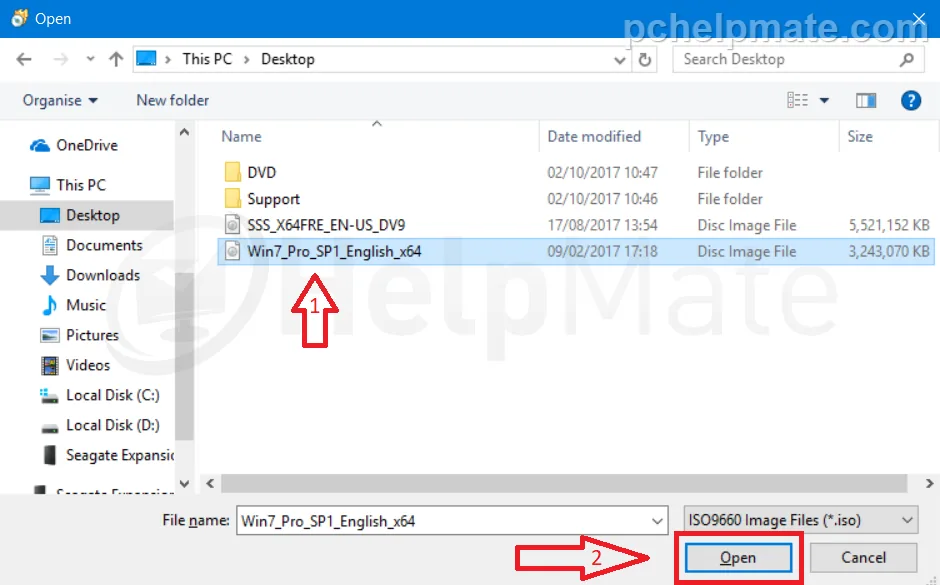
Now you will see the image selection screen. Navigate to the location of the ISO file (in this case the ISO file is stored on the desktop). Highlight the file and press “Open”.
Once the ISO file is selected you will go back to the main window and see the path in the “ISO file” section.
! warningImportant note: make sure that you select the slowest speed possible for the burning. If you burn the disc at the highest speed the files can get corrupted!
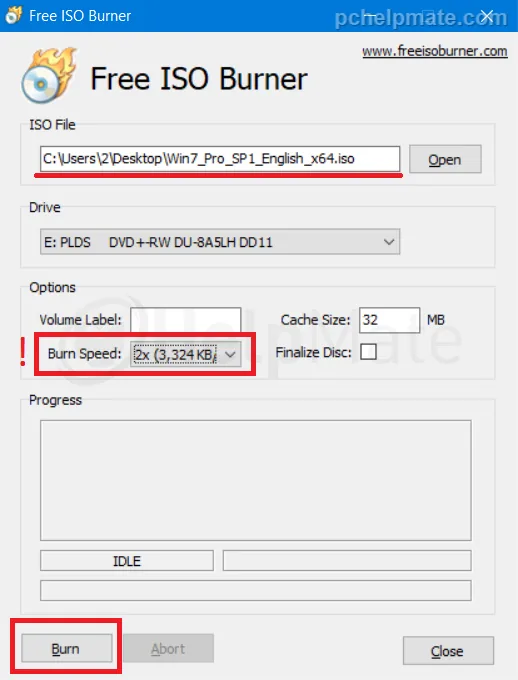
Now wait for the process to complete. At the end you will be notified that the burning is complete.
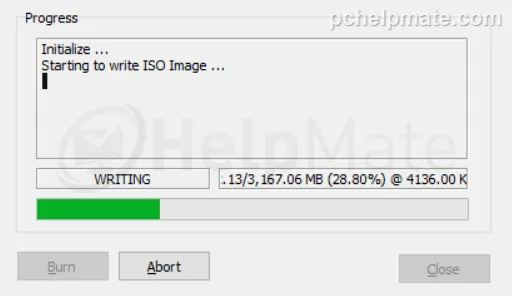
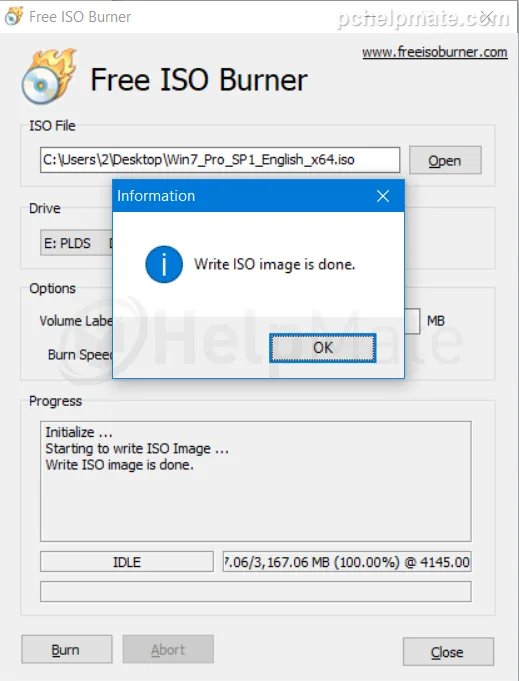
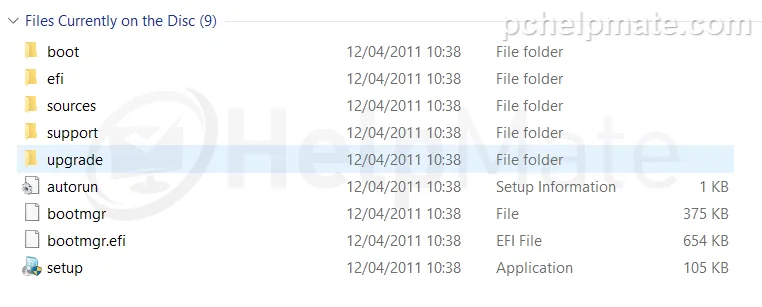
And that’s it: you have successfully created a bootable DVD for the installation. This is how the contents of the DVD should look.